There's been a lot of talk about "testing the water." However, with regards to maintenance and care for your pool testing the water is the best method to ensure that you have a pool that is easy to maintain. It's not just about observing the condition of the water or even touching the water to determine the temperature. Testing kits, strips as well as digital readers are utilized to test the water balance levels.
Why test Pool Water?
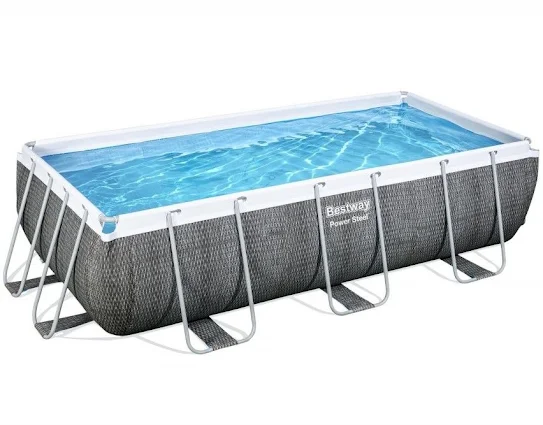
If there is no water in it, the pool is nothing more than a hole that is in the ground. If you don't have healthy, clean, and clear water, swimming can be not fun at all.
Because swimming pools are typically utilized by a variety of individuals at any given moment, it is essential to check and treat your pool's water frequently. It not only keeps the pool water in good condition and stops the spread of diseases, but it also improves your experience of the pool and reduces damages to your pool as well as equipment.
What water tests are required for the Pool?
To enjoy a sparkling healthy and well-balanced swimming pool, we must make sure that the chemistry of the water levels remains within the ideal ranges of:
- pH: 7.4-7.6
- Total Alkalinity: 80 - 120 ppm
- Calcium Hardness 200-400 ppm
- Free Chlorine Available: 2.0-4.0 ppm
- Bromine: 3.0-5.0 ppm
- Cyanuric Acid: 30-50 ppm
- Metals are: Zero ppm
- Phosphates: 0.01 ppm
- Total Dissolved Solids: 0 to 2500 ppm (non-salt pool of water)
There are occasions when the results of tests be a bit out of the specified range, but it's normally fine! So long as you're making changes to the water's chemical properties and working to keep water levels within the proper condition, you're on the right path.
Monitoring your pool's water quality and ensuring an ideal chemical equilibrium does not require rocket science. But, it does require regularity and coherence from your end.
How often should I test the water in my pool?
We suggest checking the water in your pool every week at the minimum. In addition, you should add chemicals if you notice an increase or decrease in your optimal chemical levels. If you're not sure about the water balance of your pool The pool is frequented or the weather is unusually warm, you're experiencing problems with water clarity or if a storm has recently struck your yard, you might require testing more often at least three times per week.
pH and the levels of Free Available Chlorine are better tested frequently at least daily until you get an understanding of how they change. Other measurements for calcium hardness, total Alkalinity, Cyanuric Acid, Metals, Phosphates, and Total Dissolved Solids, tend to slow down and should be checked weekly or regularly in some instances.
Most basic test kits will at the very least meet your testing requirements for the week. You may also need to buy an additional kit for testing on a monthly basis. It is also possible to bring an untested sample of water to the local store for pool maintenance to get a complete picture of the health of your pool's water
How do I test Pool the water?
There are many kinds of testing equipment on the market, each differing in cost and quality. It is important to keep in mind that certain aspects will affect the quality of the water test. Check that your test supplies aren't expired and store them in a dry location at temperatures that are at room temperature.
Turn the pool around using the pump's highest setting for at minimum an hour prior to removing the water sample to test. Results from testing with stagnant water are not extremely precise. Then, take your water sample about elbow depth, which is about 12-18 inches under the surface. Do not collect samples near the pool's return and floating dispensers of chemicals.
After you've received your results from your test Keep your record of the results. You can utilize a daily planner, dedicated to your swimming pool or input them into your preferred app for managing your pool. The recording of trends in water balance will assist you in anticipating changes in water chemistry helping you maintain the balance of water in the long run.
If you're now familiar with the methods to test the water in pools We'll take a closer review of the various types of tests for water available.
Test Strips for Pools
Test strips for pool water are the least expensive and widely utilized method of testing the quality of water in a pool. They're simple, fast and fairly precise. The more simple strips analyze for individual chemicals or you can purchase something similar to those AquaChek Select 7-Way Test Strips or Yellow 4-Way Testing Strips to run multiple tests at one the same time.
One of the most appealing aspects of test strips aside from the fact that they are inexpensive is that they're easy to use. You just need to dip them in water then shake off any excess and then you can take a few seconds to read the results. Test strips are typically coloured and have an easy-to-read chart in the bottles.
Liquid Test Kits
Taylor testing kit for liquid drops to test your pool water liquid test kits are among of the most precise methods to measure the chemical level within your swimming pool. They are more expensive in comparison to testing strips. However liquid titration kits provide an improved and reliable test solution. Kits for liquid testing consist of reagents that add to the sample of water, one drop at a time. The results are determined by the number of drops used as well as the hue of the water sample.
Kits for testing liquids like those from Swimline are affordable and simple to use. Others, such as the Taylor Basic Residential DPD Test Kit go one step further and come with an easy-to-read dosage chart to translate the results of tests into treatments. If you want a comprehensive water analysis and testing, the tests from the Taylor Comprehensive Test Kits are the best way to take.
Digital Pool Testers
What's the first thought that comes to your mind when you think of the term digital? Most likely, it's the word "accurate" as well as "fast," right? In the case of digital water testers that are digital, accuracy and speed are what you will get. It is extremely simple to operate, digital water testers usually have LCD displays, housings that are water-resistant and even the ability to store the history of results. In contrast to other kinds of water tests, you don't have to be looking to match colours for you, which means viewing the results in digital format is simple.
Digital pool testers come in a couple different types. For instance, some, like Solaxx SafeDip MET20A, for instance. Solaxx SafeDip MET20A, have electrodes that monitor the chemical levels within the water and offer a reliable measurement of the water's chemistry. A different type of test that uses digital technology is a kind of hybrid testing that employs either an examination strip (AquaChek TruTest) or reagents (LaMotte ColorQ) to determine the results. The second kind of digital tester eliminates the possibility of error that comes with the results derived by the naked eye. It is especially beneficial to those who have colourblindness in their pool. Obviously, the digital testers are then a little expensive but they are efficient, reliable easy and quick water testing solutions.
What Pool Testing for Water Should I Take?

As a homeowner, you are aware that maintenance for your pool is not straightforward and is not done with a flick of an electronic switch. A regular pool test is a crucial step to stopping serious pool issues. The three options for water testing above are great ways of testing your swimming pool every week.
The question is whether you should use testing kits or test strips or the digital water tester? The type of test you choose to use will ultimately depend on your budget as well as the degree of accuracy you're looking for when testing your pool. There is a swath of difference between costs, completeness and accuracy of testing. Test strips are the cheapest with a low accuracy level, whereas liquid test kits are more, but provide more accurate outcomes. The digital readers tend to be the most accurate of all three and they can eliminate the majority of human error However, they're typically at the top of the cost scale.
Here's a suggestion that has been utilized by a large number of our pool users. If you're trying to reduce costs without sacrificing the quality of testing, you can utilize test strips for routine check-ups every week. It is then time to use a more costly liquid test kit at least once a week to check the balance of your water and get an overall image. Make any remaining gap with a professional test at the local pool shop. Some stores, such as Leslie's offers complimentary water test.
So, what is the most effective test kit for pool use? Here are a few of our most requested test strips test kits in order of Good, Fair Better, Fair, and Best. Each test is of the highest quality. The major difference is the range of tests that they can perform. For accuracy liquid, drop-style test kits for pool testing are always more precise results than the test strips. However, for fast and simple results either on a daily or weekly basis test strips are excellent to conduct a general analysis.
Maintaining Your Shower Enclosure: Essential Tips
Your shower enclosure plays a crucial role in your daily routine, providing both functionality and aesthetics to your bathroom space. To ensure its longevity and optimal performance, regular maintenance is key. Here are some essential tips for maintaining your shower enclosure:
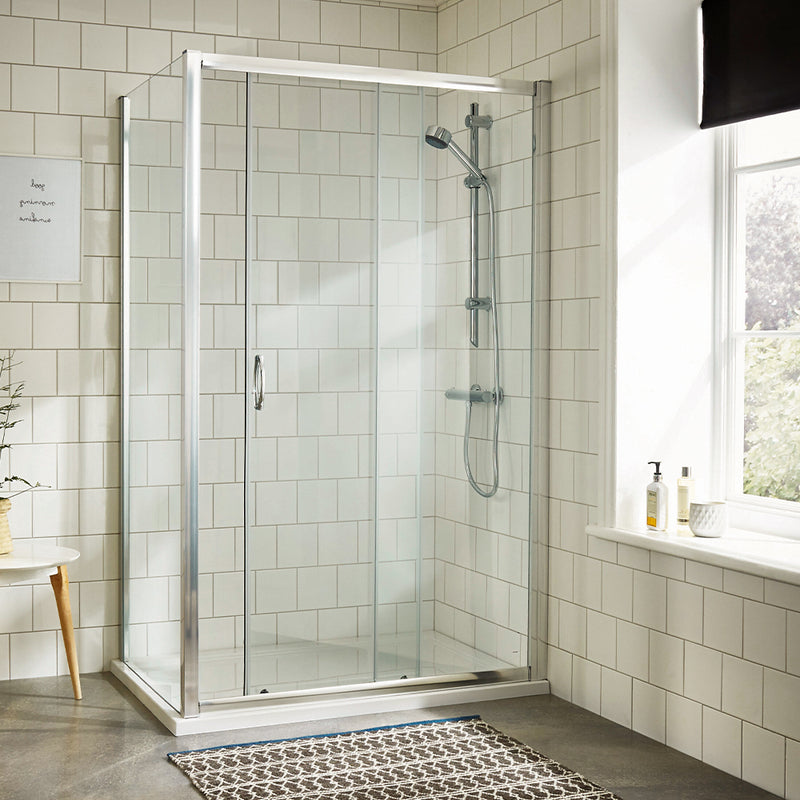
1. Regular Cleaning : Keeping your shower enclosure clean not only enhances its appearance but also prevents the buildup of soap scum, hard water stains, and mold. Use a mild detergent or vinegar solution and a non-abrasive sponge to clean the enclosure's surfaces thoroughly. Pay attention to corners, tracks, and glass panels for a spotless finish.
2. Inspection for Damage : Periodically inspect your shower enclosure for any signs of damage or wear and tear. Check the integrity of the glass panels, frames, and seals for cracks, chips, or deterioration. Addressing minor issues promptly can prevent them from escalating into costly repairs or replacements down the line.
3. Sealant Maintenance : The sealant around your shower enclosure serves as a barrier against water leaks and moisture intrusion. Inspect the sealant regularly and replace it if you notice any signs of deterioration or gaps. Properly sealed edges and joints are essential for preventing water damage and maintaining a watertight enclosure.
4. Door Alignment and Hardware : Ensure that your shower door operates smoothly and aligns properly with the frame. Tighten any loose hinges, handles, or hardware to prevent sagging or misalignment. Lubricate moving parts with silicone-based lubricant to maintain effortless operation and prolong the life of the door components.
5. Preventing Mold and Mildew : Mold and mildew thrive in damp and humid environments, making your shower enclosure susceptible to their growth. Use a squeegee or microfiber cloth to remove excess water from the enclosure after each use, especially on glass surfaces. Proper ventilation and adequate airflow can also help prevent mold and mildew buildup.
6. Deep Cleaning and Maintenance : In addition to regular cleaning, schedule deep cleaning sessions for your shower enclosure to remove stubborn stains and buildup. Consider using specialized cleaners or natural remedies like baking soda and lemon juice for tough stains. Don't forget to rinse thoroughly and dry the enclosure afterward to prevent water spots.
Maintaining Your Shower Valves: Tips for Optimal Performance
Shower valves play a crucial role in controlling water flow, temperature, and pressure in your shower. To ensure a consistent and comfortable showering experience, proper maintenance of your shower valves is essential. Here are some tips to help you maintain your shower valves effectively:
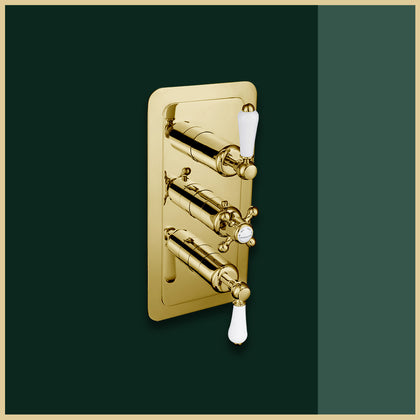
1. Regular Inspection : Periodically inspect your shower valves for any signs of leaks, corrosion, or damage. Check the valve handles, knobs, and connections for tightness and integrity. Addressing minor issues promptly can prevent water wastage and more extensive repairs in the future.
2. Cleaning and Descaling : Mineral deposits and sediment buildup can affect the performance of your shower valves over time. Clean the valve components regularly to remove any debris or scaling. Use a vinegar solution or a commercial descaling agent to dissolve mineral deposits and restore optimal functionality.
3. Lubrication : Applying lubricant to the moving parts of your shower valves can help maintain smooth operation and prevent stiffness or sticking. Use a silicone-based lubricant to lubricate valve stems, O-rings, and seals. Avoid using petroleum-based products, as they can damage rubber components.
4. Temperature and Pressure Adjustment : Check the temperature and pressure settings of your shower valves periodically to ensure they meet your preferences. Adjust the valves as needed to achieve the desired water temperature and flow rate. Be mindful of sudden changes in temperature or pressure, as they may indicate underlying issues with the valves.
5. Leak Prevention : Preventing leaks is essential for conserving water and preventing water damage to your bathroom. Ensure that all valve connections are tight and secure. Replace worn-out washers, seals, or cartridges to prevent leaks and maintain a watertight seal.
6. Professional Maintenance : If you encounter any significant issues with your shower valves or are unsure how to perform maintenance tasks, consider seeking professional assistance. A qualified plumber can inspect, repair, or replace faulty valves and ensure that your shower system operates efficiently and reliably.
By following these maintenance tips, you can prolong the lifespan of your shower valves and enjoy a consistent and satisfying showering experience. Regular inspection, cleaning, and lubrication are key to ensuring optimal performance and preventing costly repairs down the line.
No comments:
Post a Comment